
NoMachine
Setting up your noMachine client -- the best way to access the Demography Lab remotely
Below are instructions for setting up your personal computer to use the Virtual Demogrpahy Lab. For most people, the noMachine client will offer the fastest and best way of accessing the awesome array of Demography Lab services. It is easy and free to install. There are other options, however, so if this feels wrong check the Getting Started at the Demography Lab page for other possibilities.
The instructions below are mac-centric, owing to my lack of a windows machine with which to experiment. Please help improve them for windows users by sending instructions and screen shots to boe@demog.berkeley.edu. If you're a Linux user you'll be able to figure it out yourself...right?
Step by Step (First Time Setup)
- Get a userid:
Acquire a valid Demography Lab userid/password - Install the client software:
Download and install the appropriate "client" software You can download the no machine client software from https://www.nomachine.com/product&p=NoMachine%20Enterprise%20Client
Choose the one that matches your operating system.
You want the Enterprise client. Download and install accepting all of the defaults. - Configure the noMachine Client:
- Launch the noMachine client application
- Create a "new connection" when offered the chance

This will launch a series of dialog screens. Mostly you'll choose the default options. exceptions in red- Protocol: NX
- Host: nmx.demog.berkeley.edu ; Port: 4000; Use UDP for multimedia: yes
- Authentication: Password
- Proxy: Don't use a proxy
- Save as Name: Best Demography Lab EVER
- Connect :
Hit the "Connect" button to connect for the first time- Enter your DemographyLab username and password -- If you don't have these then Go back to step 1
- noMachine will then "create a new desktop" for you..
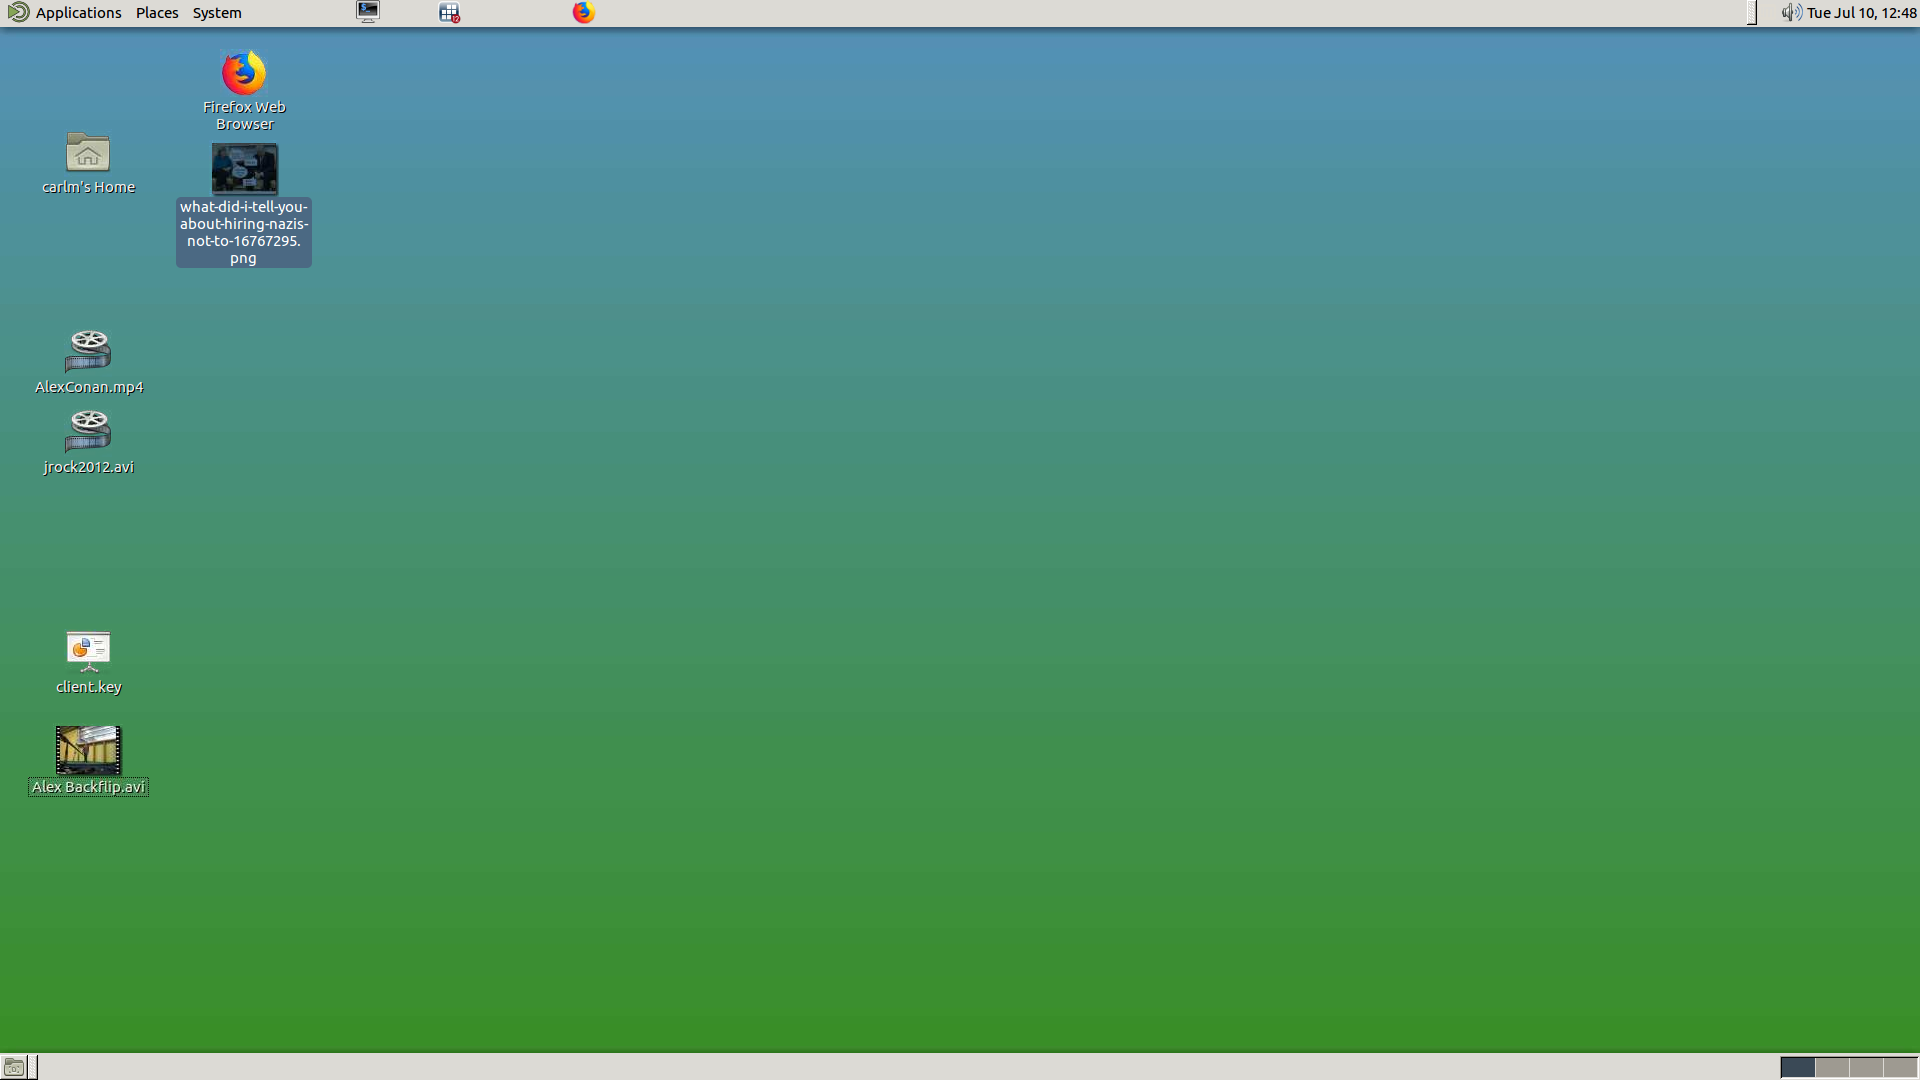
You can safely just click OK on the next 2 screens ultimately revealing... Your awesome new Linux Desktop (in a window on your local machine):
Mind bending truths about noMachine
Your new remote Linux Desktop is a fully functioning Linux workstation running on a server in the cloud. You control it from your local machine through an application (the noMachine client) But the desktop in that window is NOT an application on your local machine. It does not, in fact, know anything about your local machine. This can be confusing because it seems like you have just launched an application --but you didn't just launch an application -- you connected to a server in the clouds.
It thus follows:
- Files on your local machine are NOT readable/writable from applications running on the Linux Desktop.
If you want to operate on the same files using both your personal computer and the Linux machine in the cloud, you must either Upload and download files (see Upoading?) Or share a directory using Dropbox. - Simply Closing the noMachine client will not (generally) cause Linux applications to stop
This is more of a feature than a bug since long running applications don't require persistent connections -- but it also means Politeness is required: you must close applications individually or terminate your noMachine session explicitly in order to not waste resources%.
The workflow
The canonical method of using the server is :
- Lanch the noMachine client
- Select the saved connection called "Best Demography Lab Ever" and Hit "Connect"
- This will "create a new virtual desktop"; prompt you for userid/password; and connect you to it. (After you click OK a few times)
- Do science
- Log out to "terminate" your session
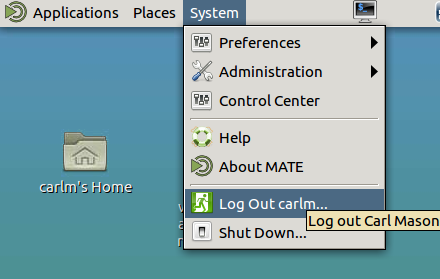
When you have completed you work and are ready to take a nap:- Close each application that you are running on the virtual Desktop
- Log Out of the Linux Server.
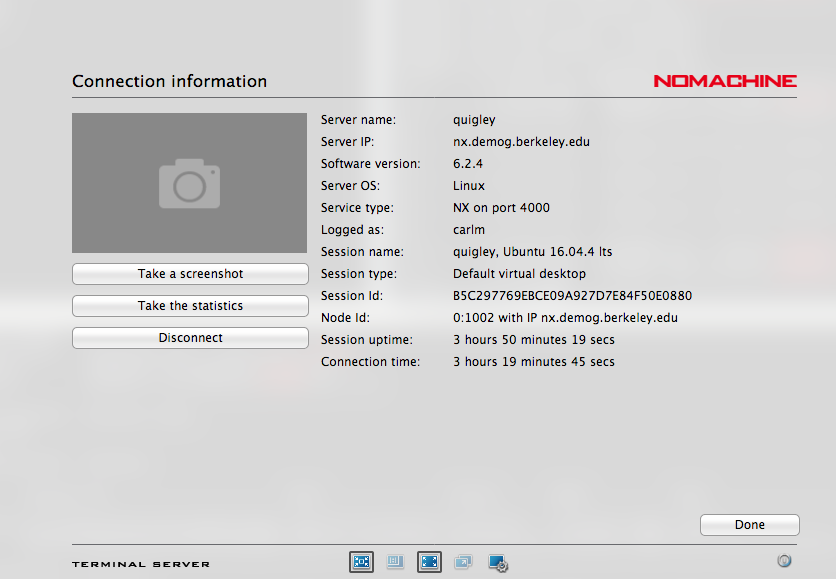
Connecting and Reconnecting Disconnecting vs Terminating a Session
Occaisionally, you will find that you are ready to take a nap before your scale model of the Universe has converged. One of the advantages of noMachine is that long running projects can continue to run while you pursue other important priorities. This is done by Disconnecting rather than Logging out (aka Terminating). When you disconnect from the Linux server, your session continues as if you were right there watching. R, Stata or whatever application you are running will just continue to tick over -- exploring whatever scientific cul-de-sac you have designated -- and wait patiently for you to reconnect.
Unless the server crashes in the mean time, you can reconnect and pickup where you left off by following the same procedure as you followed when there is no currently running session -- e.g. when you Logged out last time: Launch the noMachine client app; select the saved connection; hit connect.
How to Disconnect Though typically, you will want to be a good doobie and Log out when you are finished doing science for the day, to keep your session active in your absence you'll want to disconnect:
- Find and click on the noMachine icon (generally) in the upper right corner of the screen
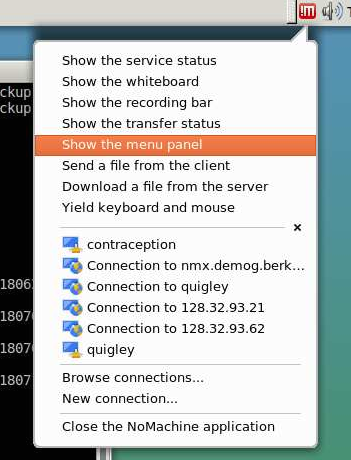
Alternate keyboard shortcut: Ctrl+Alt+0 (zero not Oh) - Select "Display":

- Select "Disconnect":
What could possibly go wrong ? (Troubleshooting)
- Did you enter your Demography Lab userid/password? Your laptop probably knows you as "Firstname Lastname" or your middle school nickname but the Demography Lab knows you as the userid/password that you specified on your confidential data form. If you are not sure about your userid and password try logging in using ssh. If that works then you'll know that your userid and password are valid.
- The NoMachine client connects to the server on port 4000. This is the default setting so if you changed it, change it back to 4000.
Unfortunately, the CalVisitor WiFi setup (and no doubt others in the wide world) promises only to allow connections on ports 80 and 443. So if you are having trouble connecting on CalVisitor, then it's worth the effort to get your AirBears2 working.- If you cannot or will not get AirBears2 to work, then you can use the SSH protocol in place of the standard NX protocol (Edit the saved connection or create a new connection if that suits you) see that *should* cause the Port to show 22 instead of 4000.
It would be wise to make sure the ssh is working from your machine. Ssh not working, would indicate other sorts of network problems. See ssh
- If you cannot or will not get AirBears2 to work, then you can use the SSH protocol in place of the standard NX protocol (Edit the saved connection or create a new connection if that suits you) see that *should* cause the Port to show 22 instead of 4000.
- Might your firewall be overly paranoid? Try disabling the firewall for a minute to see if that clears up the problem.